

Introduction
Build a wedding website guests can use: essential sections, sample wording, a checklist and free templates to help you get started.
Your wedding website should include your names, wedding date, ceremony and reception details, directions, an RSVP deadline and clear instructions for replying. Add travel advice, dress guidance and a contact for questions. Your story, photographs and wedding party introductions make it personal, but guests should be able to find the practical details first.
Picture a guest opening your link while booking a train. They need to know which town to travel to, when to arrive and whether they should stay overnight. A thoughtful website answers those questions, then gives them a little glimpse of the celebration you are planning.
Use the sections below as a writing guide. They can be sections on one scrolling page; you do not need a separate page for every topic. Start with confirmed information and add the finishing touches later.
1. A welcome with your names, date and location
Your opening screen should make it immediately clear whose wedding this is. Include both names, the date written out in full and the town or region. Writing “12 June 2027” avoids confusion between UK and US date formats. Choose one clear photograph of you together and keep the welcome short enough to read on a phone.
We’re getting married! Join Olivia and James on 12 June 2027 in the Cotswolds. We can’t wait to celebrate with you. You’ll find our schedule, travel details and RSVP information below.
A countdown is a lovely extra, but the date still needs to appear as ordinary text. If you are ready to start, browse the free DreamWedds wedding website templates and choose a design before adding your welcome.
2. The ceremony, reception and other events
For each event guests are invited to, give its name, date, arrival time, start time, venue and address. Say whether the reception is in the same place and how guests will get between locations. For destination weddings, state that times are local to the venue.
Keep this a guest schedule. Photographer arrival times, supplier deliveries and the wedding party’s hair appointments belong in your private planning documents.
- Ceremony: arrive from 2:30 pm; ceremony begins at 3 pm.
- Drinks and reception: follow in the gardens and adjoining barn.
- Evening: dancing from 8 pm; carriages at 11:30 pm.
These are sample timings, not a suggested schedule for every wedding. For a welcome dinner, mehendi, sangeet, nikah, walima or next-day brunch, give each event its own details. DreamWedds supports multiple wedding events with their own dates, venues and directions. Check the selected template’s event allowance when planning a larger celebration.
Keep invitation-only gatherings off a public schedule unless everyone reading it is invited. Send those details directly to the relevant guests. Emily Post’s wedding website etiquette guide also highlights the confusion that public rehearsal-dinner details can cause.
3. Venue directions guests can actually follow
Add the full postal address and a map link for every venue. Open the link yourself and check that it points to the guest entrance, rather than a service gate or a similarly named property.
Explain parking, drop-off points and any walk from the car park. If you have arranged transport, include the exact pickup point, departure time and return arrangements. Describe verified access details plainly: step-free entrance, lift availability or a gravel path are more useful than a general promise that a venue is accessible.
If a guest needs a particular arrangement, offer a private way to ask. Confirm uncertain details with the venue before publishing them.
4. RSVP instructions and a deadline
Make the next action obvious: where to reply, when to reply and whom to contact if the form does not work. Set your deadline with enough time to follow up before your caterer or venue needs final numbers.
Please RSVP by 1 May using the reply option on our website. Let us know whether you can join us. If you need help replying or want to discuss a dietary or access requirement, contact us privately.
Explain who is included in each invitation; a website link should not accidentally suggest an open invitation. Ask for meal choices or additional requirements only where your reply form supports them, and provide a private alternative otherwise.
DreamWedds includes online RSVP, with no guest app or account required. For the sending process, follow our guide to creating and sending a wedding RSVP link. Sharing a link in WhatsApp is separate from sending automated WhatsApp notifications, which are subject to your message allowance.
5. Travel and accommodation
Help visiting guests decide where to stay. List a few accommodation options at different price points, their distance from the venue and direct booking links. If you have a room block, explain the booking method, reference and cutoff date, using information supplied by the hotel.
Add the nearest useful railway station or airport, plus realistic onward travel advice. Avoid promising that taxis will be easy to find late at night unless you have checked. If guests must arrange their own transport or accommodation, say so kindly and clearly.
For an overseas wedding, link to official travel information relevant to your destination instead of copying requirements that may change. This section can be brief when most guests live nearby.
6. Dress code and useful FAQs
Translate your dress code into something guests can act on. “Garden party attire” becomes more useful when followed by “The ceremony is on grass; block heels or flat shoes will be more comfortable.” Mention outdoor temperatures, coverings for a place of worship or other expectations where relevant.
Choose questions people have actually asked you. A short, accurate FAQ is easier to use than a long list of possibilities.
- Are children invited? Explain your arrangements warmly and consistently with the invitation.
- Can I bring someone? State that the invitation is for the named guests, if that is your policy.
- Will we be outdoors? Describe the plan and any confirmed weather alternative.
- Can we take photographs? Explain an unplugged ceremony request or your sharing preferences.
- What will be served? Give useful meal information and a private contact for dietary questions.
These are content suggestions, not a promise that every template has a dedicated FAQ, travel or registry module. Preview your design and use the appropriate editable descriptions for the details it supports.
7. Your story and a small photo gallery
Once the logistics are clear, make the website feel like you. A few short paragraphs about how you met, a favourite shared memory and what you are looking forward to are plenty. There is no need to tell your entire relationship history.
We met through friends, discovered a shared love of long walks and questionable quiz answers, and have been exploring together ever since. Now we’re looking forward to bringing our favourite people together for our next adventure.
Replace the example with details that sound like you. Choose a small set of photographs you both love, including one where your faces are easy to see on a phone. Get permission before sharing photographs of other people. If you use writing assistance, edit the draft together and check that every memory is true.
8. Family and wedding party introductions
This section is optional, but it can help guests recognise important people before the day. A name, role and one warm sentence are enough: “Amelia, maid of honour — Olivia’s sister and our calm voice in every planning conversation.”
Ask before publishing someone’s portrait or biography. Leave out private jokes that need explaining, embarrassing stories and personal contact details. You can also include a short tribute to someone you are remembering, if that feels right for both of you.
9. Gifts or registry information
If you want to share a registry, place it after the essential guest information. Keep the wording grateful and make it clear that a gift is optional. A simple “Your company means the most to us; if you would like a gift idea, our registry is linked here” is enough.
Emily Post’s registry guidance supports linking to registries on a wedding website without making them its main focus. This is general etiquette guidance, not a built-in registry service offered by DreamWedds. Check how your chosen design supports sharing an external link.
10. A contact for questions and last-minute updates
Give guests one agreed way to ask for help. A dedicated wedding email address can keep questions together. For the wedding day, consider a willing helper or coordinator so you are not answering parking questions while getting ready. Get their permission before sharing their details.
Keep this section current when arrangements change. Update the website first, then tell affected guests directly about important changes; do not assume they will revisit the page. Offer printed details or a phone call to guests who prefer them.
Your wedding website checklist
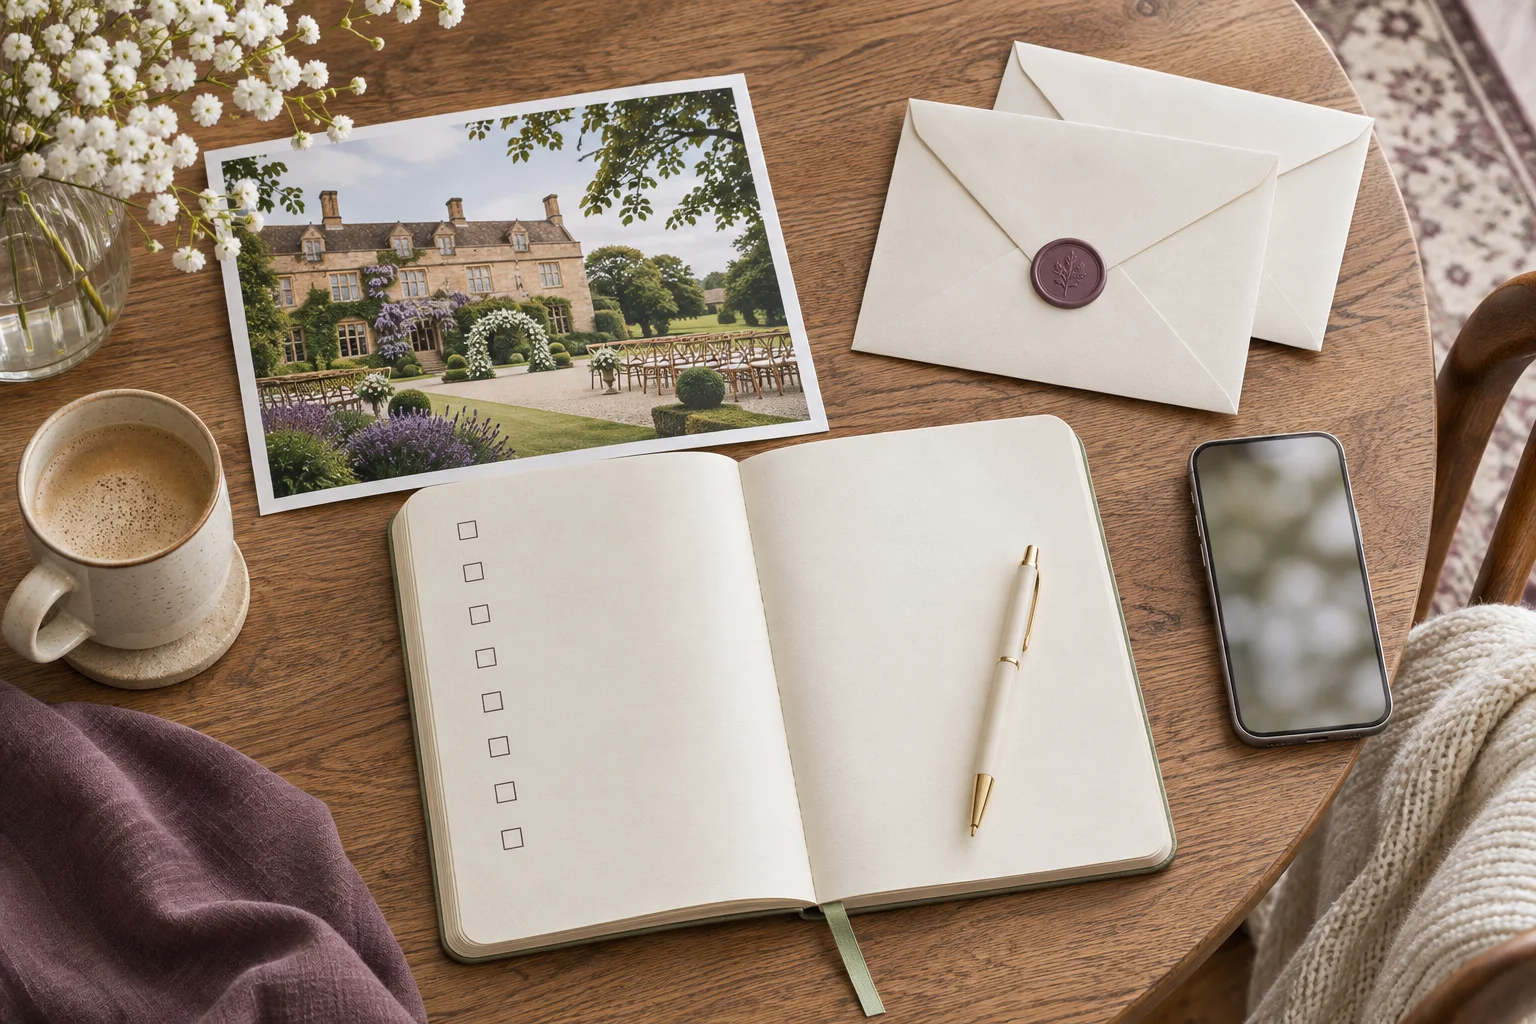
Copy this list into your planning notes and tick it off before sharing your link.
- ☐ Both names, the full wedding date and location are easy to find.
- ☐ Every public event has the correct date, arrival time and start time.
- ☐ Venue addresses, map pins, parking and transport details are checked.
- ☐ The RSVP deadline and instructions are clear, and a test reply works.
- ☐ Invitations make children and additional-guest arrangements clear.
- ☐ Travel and hotel information includes booking deadlines where relevant.
- ☐ Dress guidance and any cultural expectations are explained.
- ☐ Guests can privately ask about dietary or access requirements.
- ☐ Optional story, gallery and wedding party content has been proofread.
- ☐ Registry wording is optional and appreciative, if included.
- ☐ A contact has agreed to handle questions.
- ☐ Private events, guest contact lists and sensitive details are not public.
- ☐ Every link works on a phone, and photographs load clearly.
- ☐ A guest unfamiliar with the venue can understand the plan without help.
Do I need a premium template for all this?
Start with the content your guests need, then choose a design. DreamWedds currently lists Arya as a free wedding website template. Selected free templates include publishing, online RSVP and guest list management without a card; premium designs and additional allowances are optional purchases. Check the current free template selection and inclusions before choosing.
Preview the layout to see how your story, events and photographs will appear. Choose premium when you prefer its design or need the allowances offered by that plan, rather than assuming a useful wedding website must be expensive.
When should we publish our wedding website?
Have the essentials ready when you start sharing save-the-dates, if possible. You can publish your confirmed date and location first, then add the schedule and travel arrangements as they are agreed. Clearly label anything still to come, and have the reply instructions ready when invitations go out.
What should we leave off?
Leave out your budget, supplier contracts, private guest information and events the reader is not invited to. Do not publish home addresses or personal numbers unnecessarily. Keep unconfirmed arrangements out of the final schedule, and do not treat an obscure website address as a privacy setting.
Start with the essentials, then make it yours
You do not need every photograph or the perfect love story to begin. Add your names, date, events, directions and reply instructions first. Then return to the details that make guests feel welcome.
Choose a free wedding website template, open its preview and use the checklist above to prepare your first draft.
References and further reading
- DreamWedds: free wedding websites — current free designs and plan inclusions.
- DreamWedds: website features — story, event, guest and messaging tools.
- Emily Post: wedding website tips — guest communication and invitation etiquette.
- Emily Post: taming the wedding registry — considerate registry placement.

When Should I Send Wedding Website and RSVP Links? A Practical Timeline
19 NOV 2026

What Should I Put on a Wedding Website? A Section-by-Section Guide and Checklist
19 NOV 2026
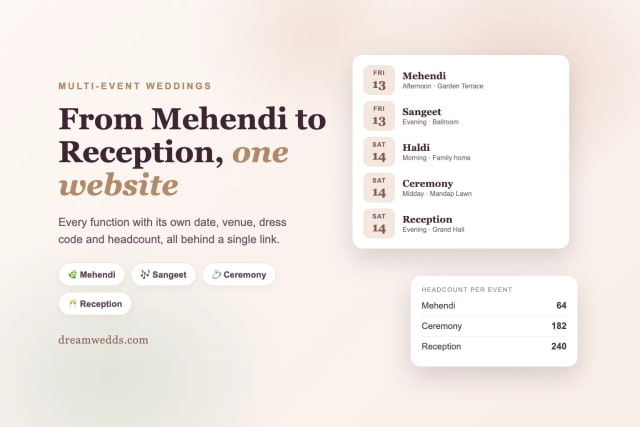
From Mehendi to Reception: Building a Multi-Event Indian Wedding Website With DreamWedds
18 NOV 2026
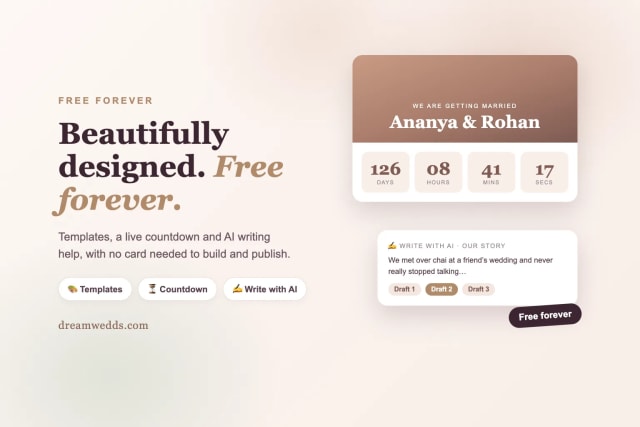
Free Forever, Beautifully Designed: A Look Inside DreamWedds' Templates, Countdown and AI Writing Help
18 NOV 2026
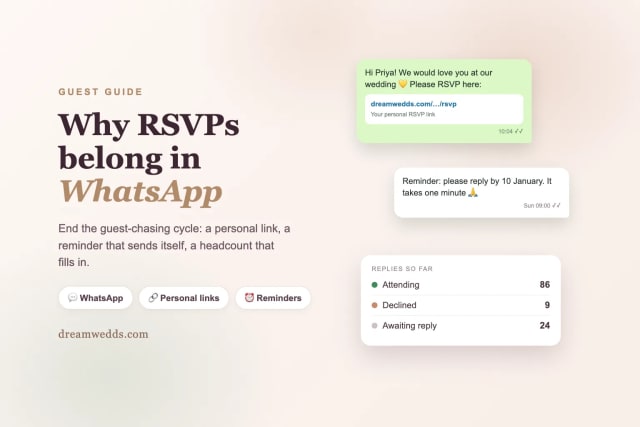
Why Wedding RSVPs Belong in WhatsApp: How DreamWedds Ends the Guest-Chasing Cycle
18 NOV 2026
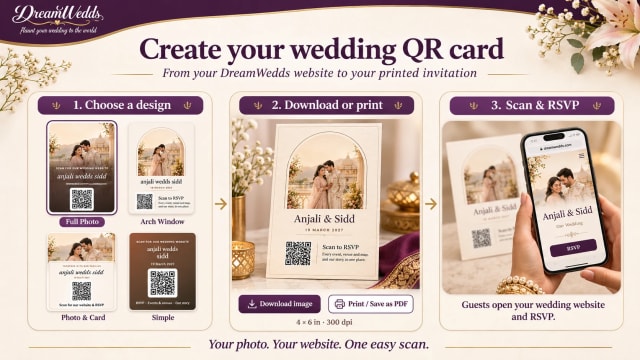
How to Put a QR Code on Your Wedding Invitation (and Make Sure It Scans)
14 NOV 2026
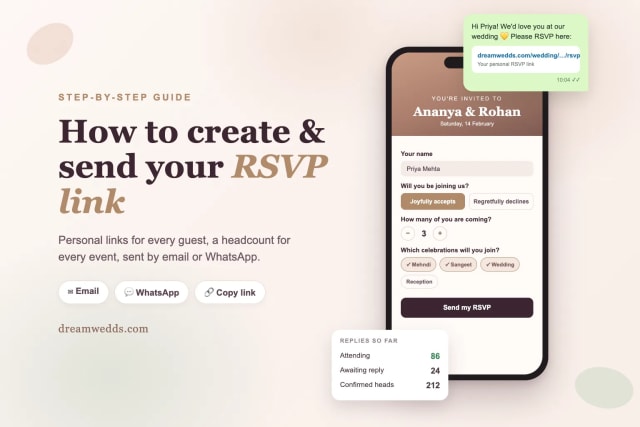
How to Create and Send an RSVP Link for Your Wedding (Step-by-Step)
8 NOV 2026
Tuscany vs Santorini vs Amalfi Coast for a wedding
18 JUN 2026

How Much Does a Destination Wedding in Europe Cost?
18 JUN 2026
Top 20 Wedding Destinations in Europe for a Fairytale Wedding
18 JUN 2026
When Should I Send Wedding Website and RSVP Links? A Practical Timeline
19 NOV 2026
What Should I Put on a Wedding Website? A Section-by-Section Guide and Checklist
19 NOV 2026
From Mehendi to Reception: Building a Multi-Event Indian Wedding Website With DreamWedds
18 NOV 2026
Free Forever, Beautifully Designed: A Look Inside DreamWedds' Templates, Countdown and AI Writing Help
18 NOV 2026
Why Wedding RSVPs Belong in WhatsApp: How DreamWedds Ends the Guest-Chasing Cycle
18 NOV 2026
How to Put a QR Code on Your Wedding Invitation (and Make Sure It Scans)
14 NOV 2026
How to Create and Send an RSVP Link for Your Wedding (Step-by-Step)
8 NOV 2026
Tuscany vs Santorini vs Amalfi Coast for a wedding
18 JUN 2026
How Much Does a Destination Wedding in Europe Cost?
18 JUN 2026
Top 20 Wedding Destinations in Europe for a Fairytale Wedding
18 JUN 2026
